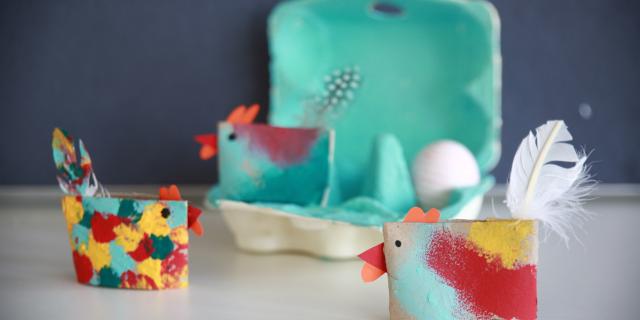
Making sheep from wool scraps
Easter crafts with children: Fluffy sheep made from cardboard and wool
Craft DIY to copy
Ahead of Easter, are you looking for an uncomplicated craft idea that doesn't require much preparation and doesn't involve buying lots of materials? These little sheep are easy to make and, with a little help, ideal for small children's hands. Crafting promotes fine motor skills, is also fun for younger children and is ideal for a creative afternoon together.

Making sheep from wool scraps: simple instructions
Material list
For this Easter craft with children, you will need:
- Solid cardboard or cardboard (e.g. shipping box)
- White thin cardboard or paper
- Wool scraps: preferably white, cream, grey or coloured
- White thin cardboard or paper
- Wool scraps: preferably white, cream, grey or colorful - the thicker, the fluffier
- Scissors
- Pencil
- Black felt-tip pen
- Craft glue
- If necessary, different sized cups as a template
Tip:
This DIY project is particularly suitable for using up leftovers and is therefore a sustainable craft idea for Easter.
Step-by-step instructions: Making Easter sheep
-
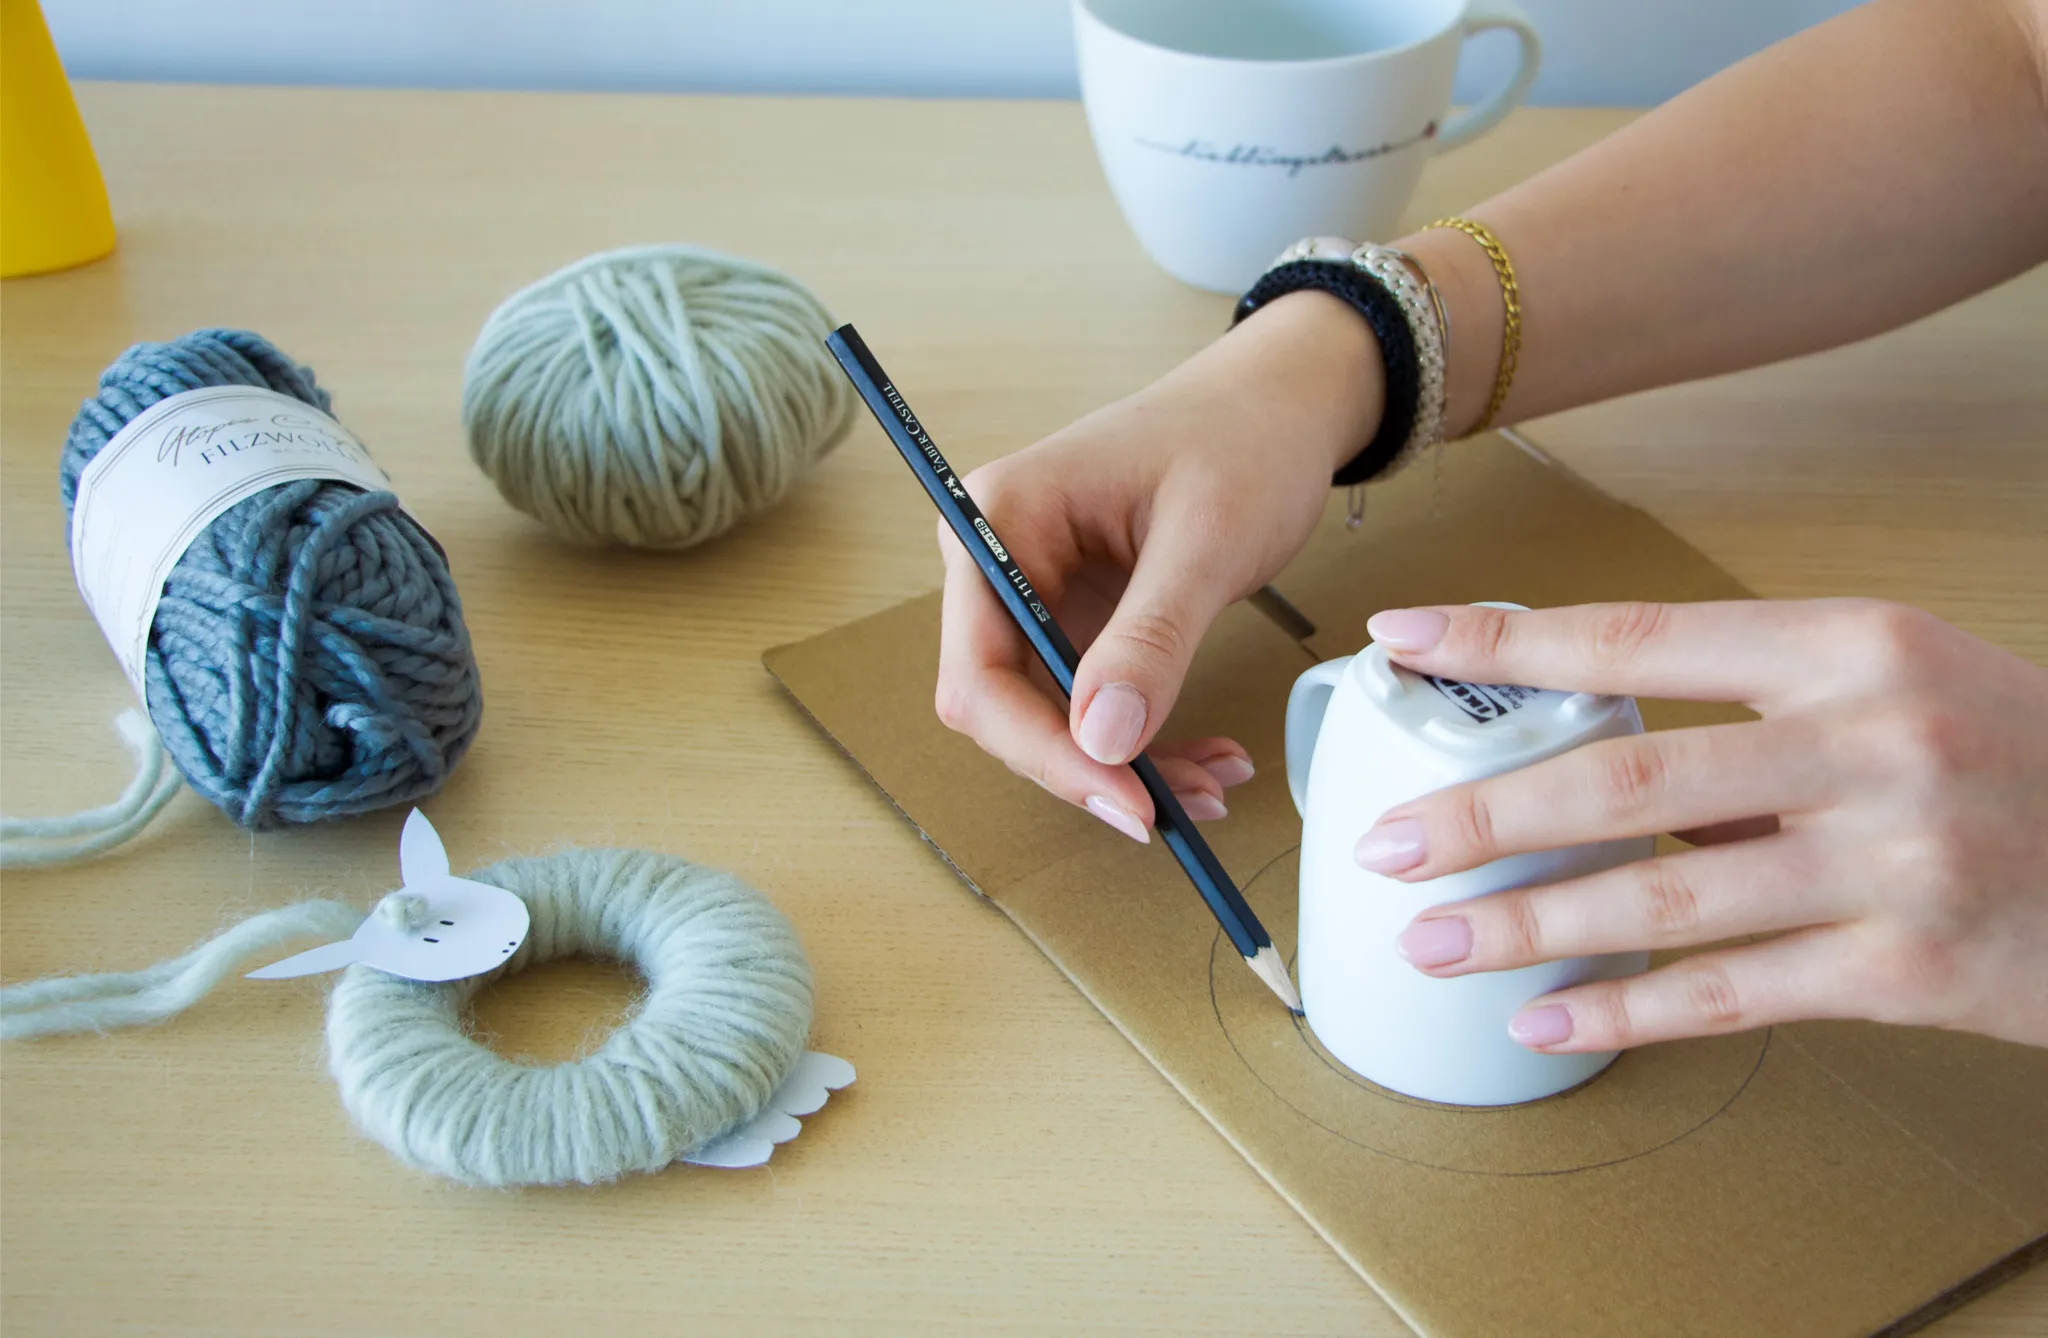
Step 1
Preparation:
Draw a larger circle with a diameter of approx. 9-10 cm on the cardboard. Draw a smaller circle in the middle.
Tip: Cups of different sizes are suitable as a template, for example.
-
-
-
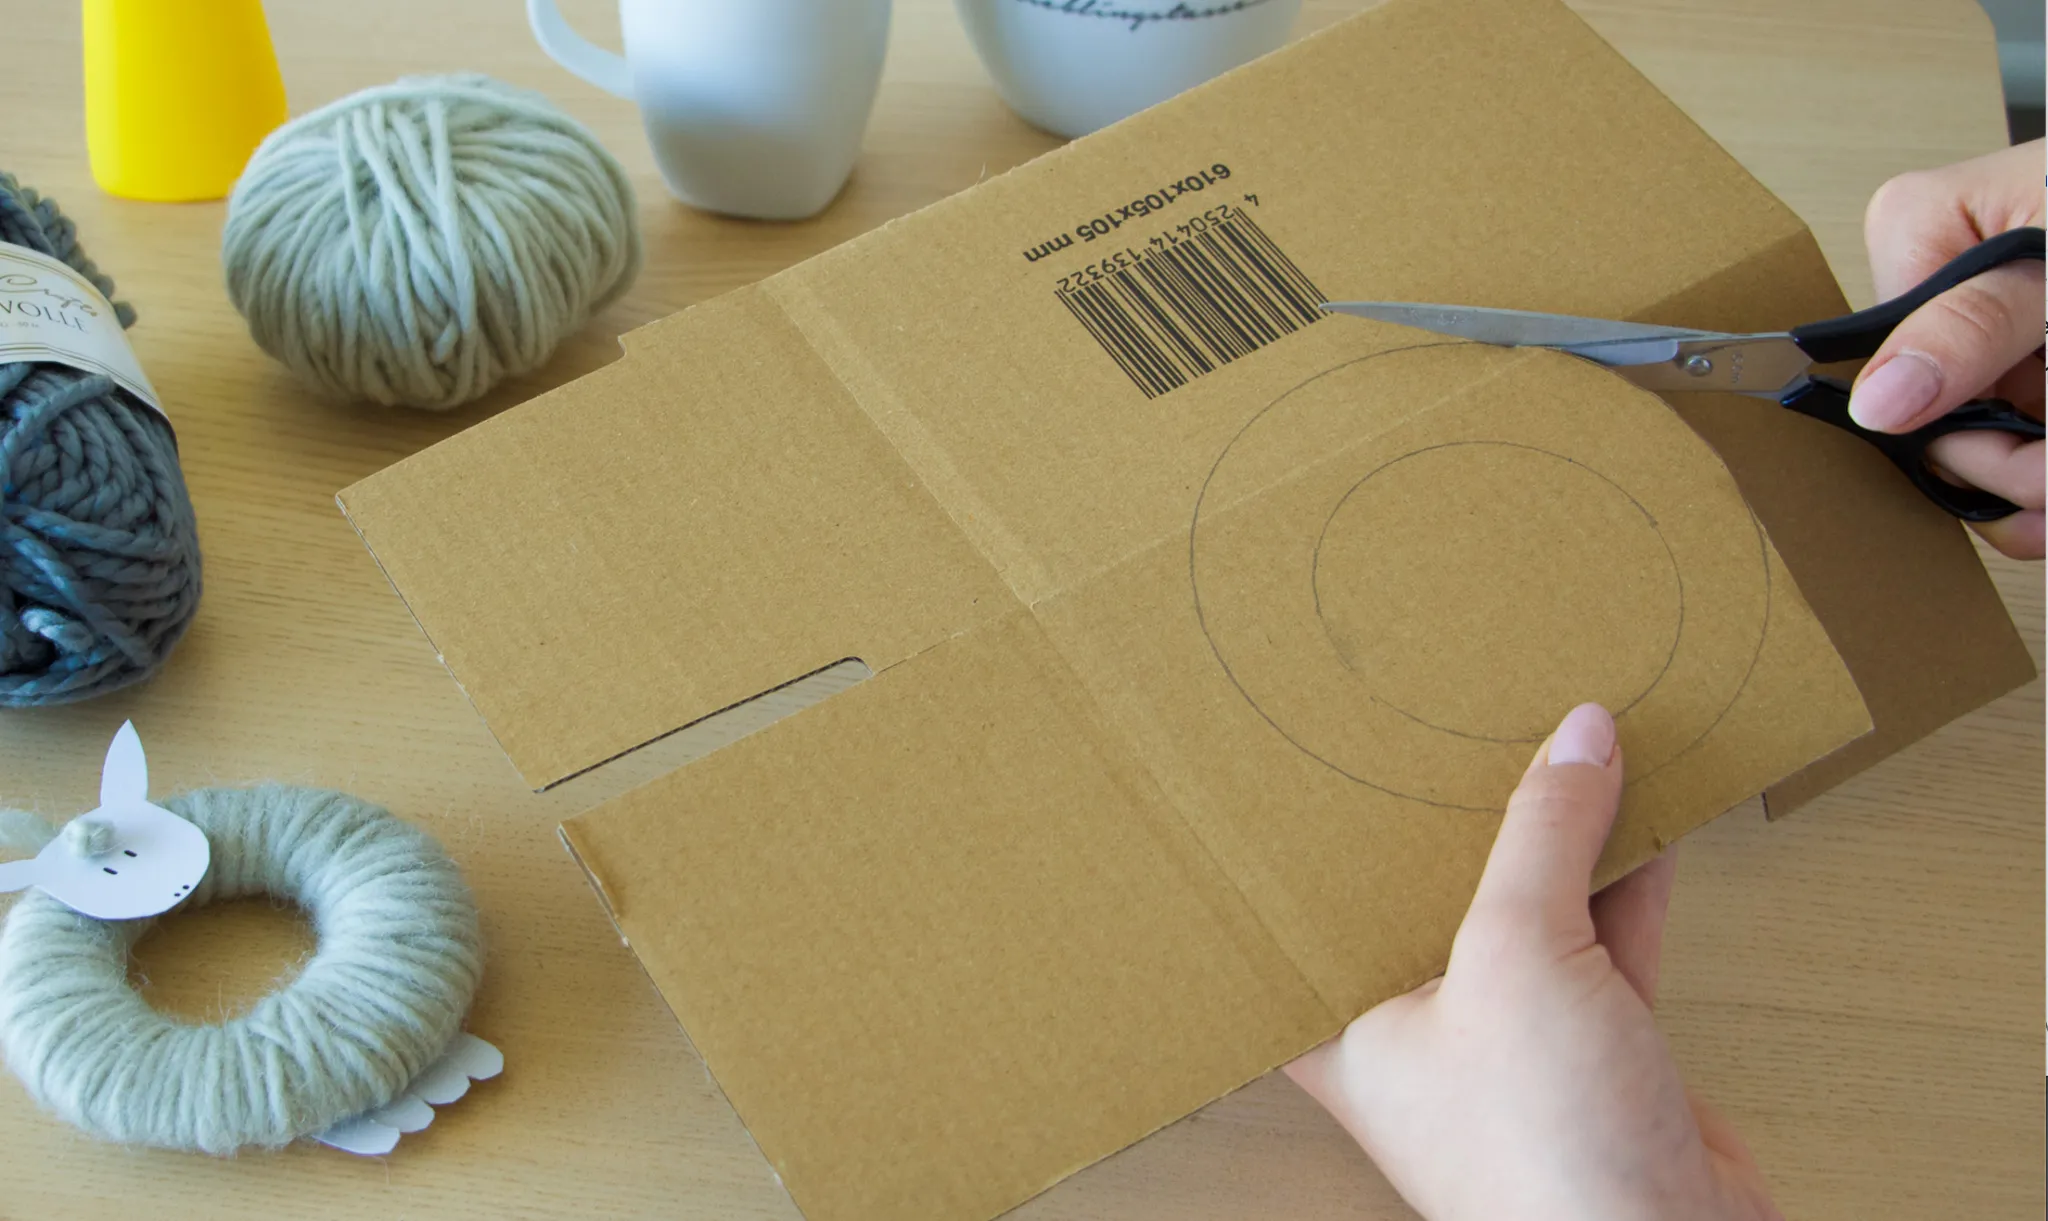
Step 2
Cut out the body:
Cut along the lines to create a ring, similar to a donut.
Tip: For smaller children, an adult can help with the cutting.
-
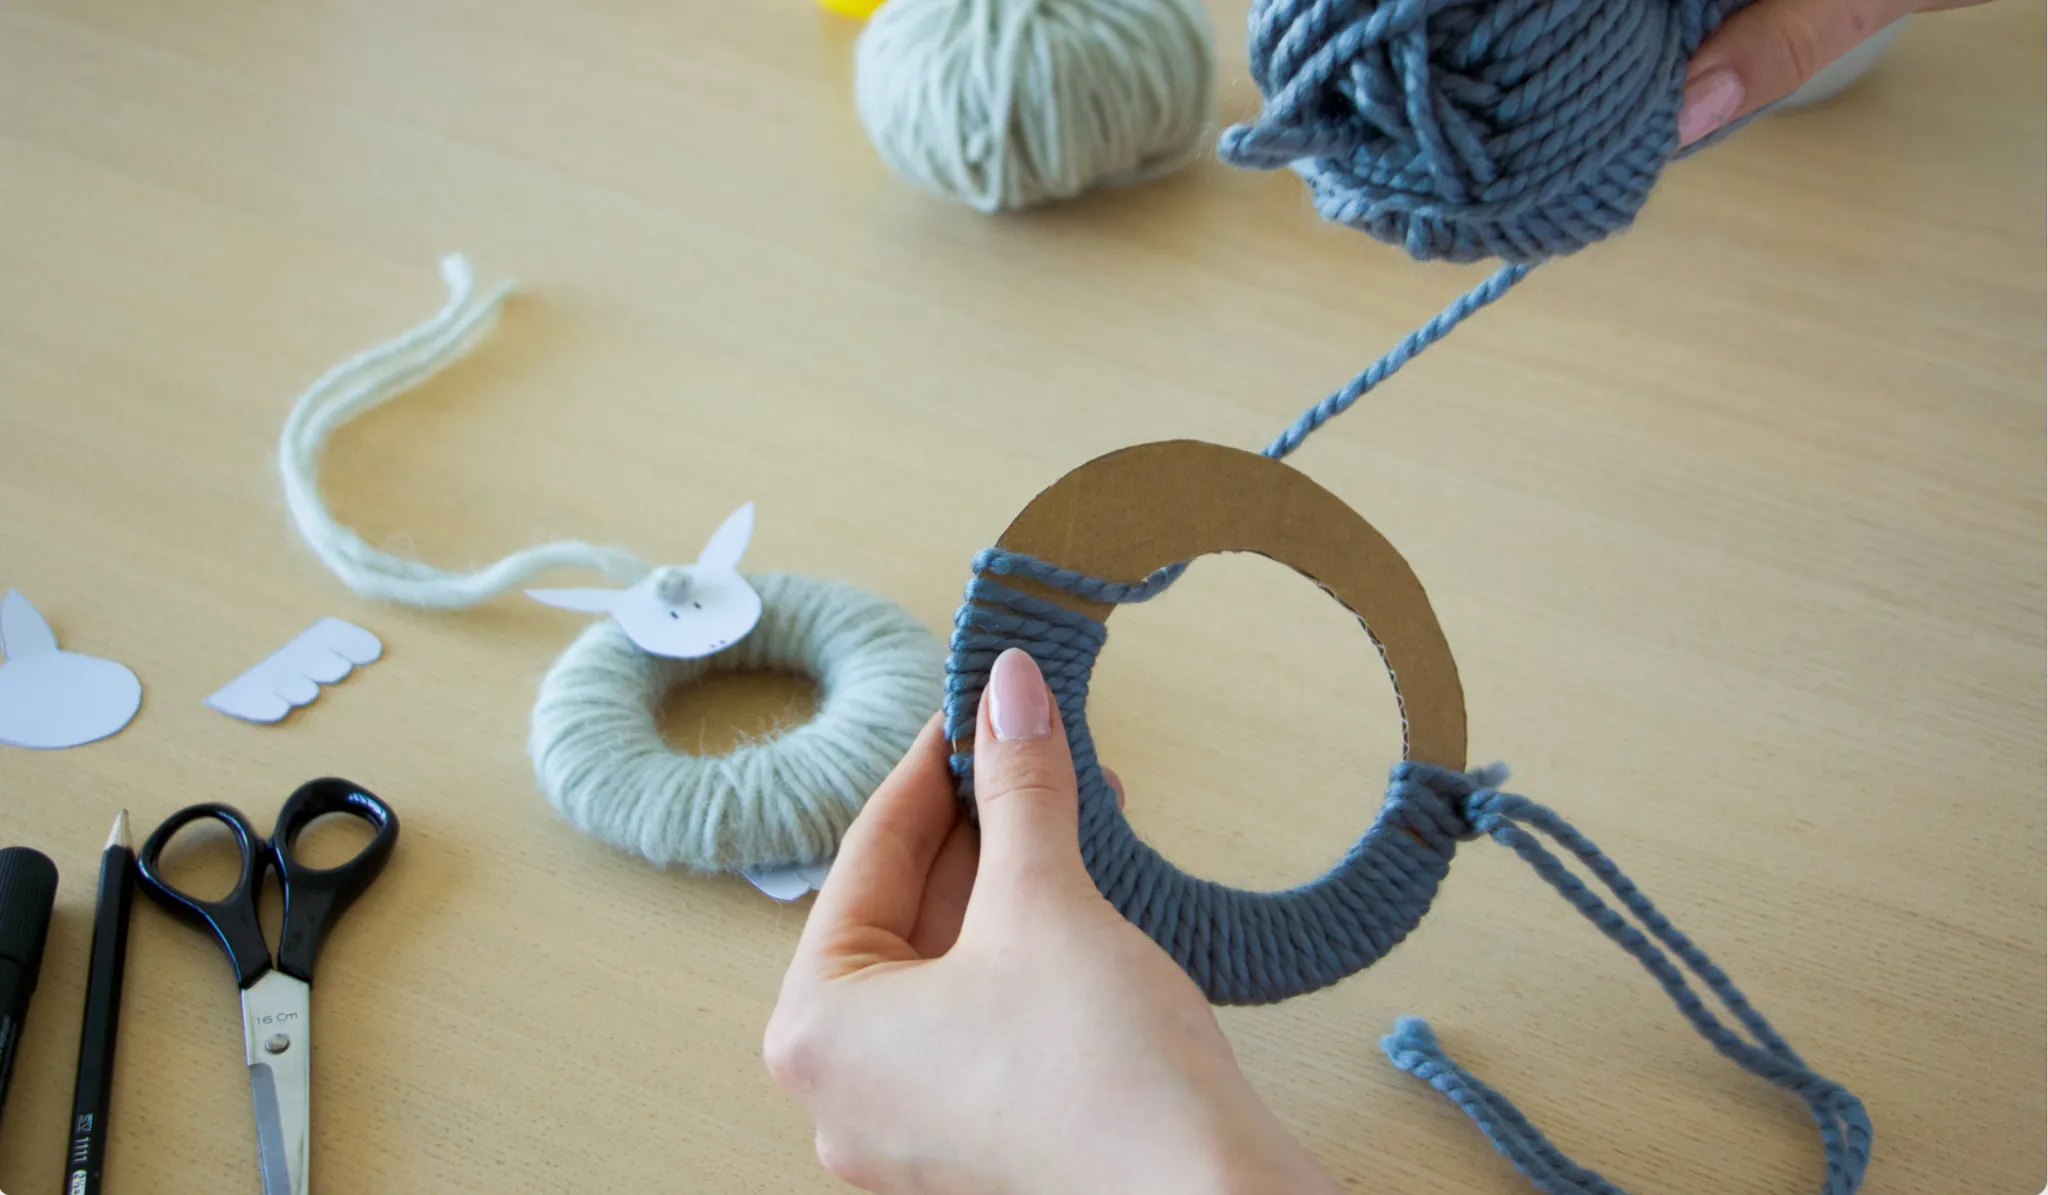
Step 3
Wool wrapping:
Pass the wool remnants in the desired color through the hole in the middle again and again and wrap them evenly around the entire ring. The more wool you use, the thicker and fluffier the sheep will be. At the end, secure the cord to the ring with a knot.
Tip: The children can just wrap it wildly. Perfection is not necessary here.
-
-
-
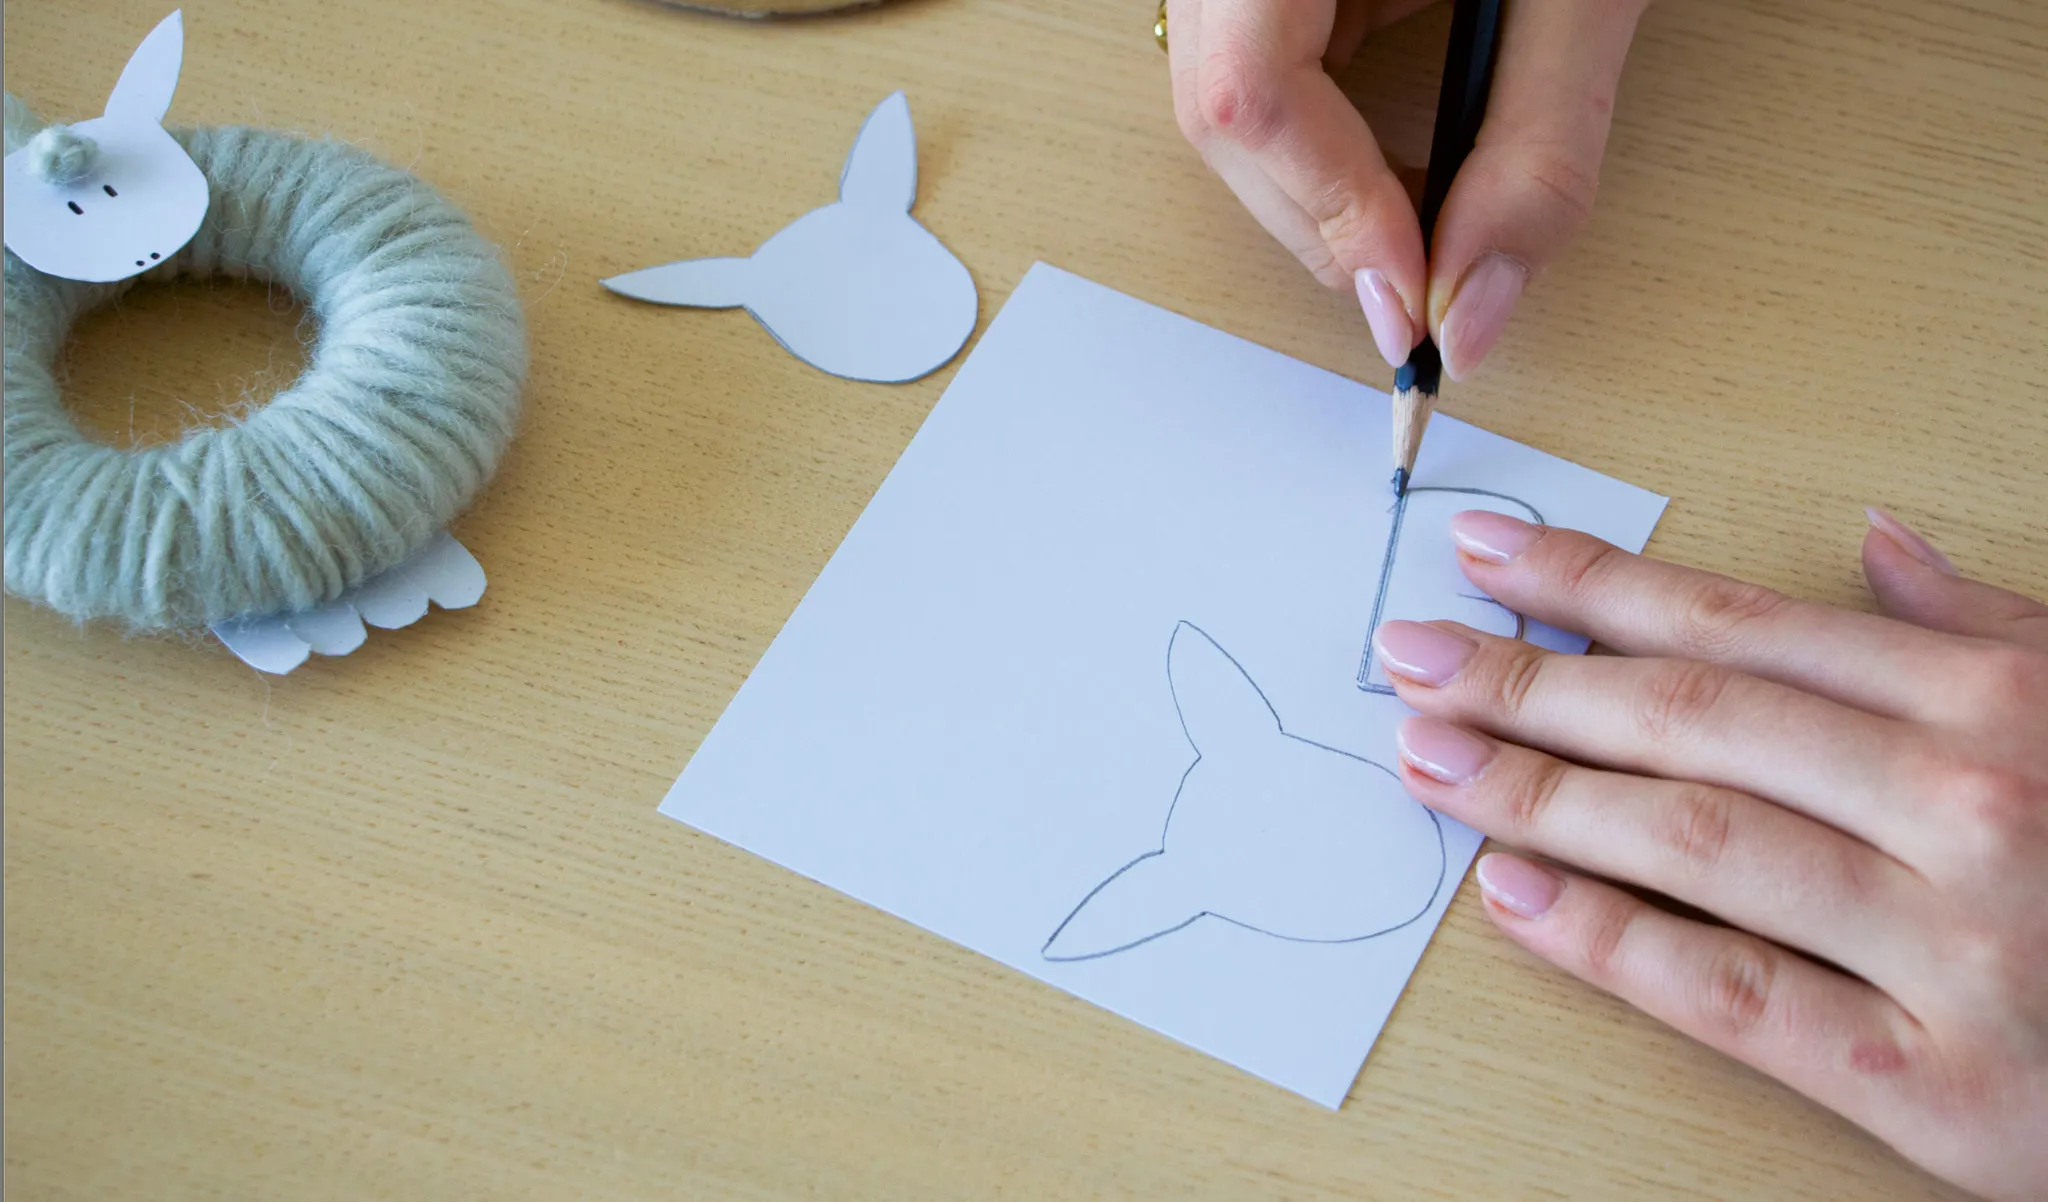
Step 4
Design the head and legs:
Draw a small sheep's head with ears in pencil on white card and cut out. Create two small legs in the same way. Draw on eyes and nose with a black felt-tip pen or stick on wiggly eyes.
-
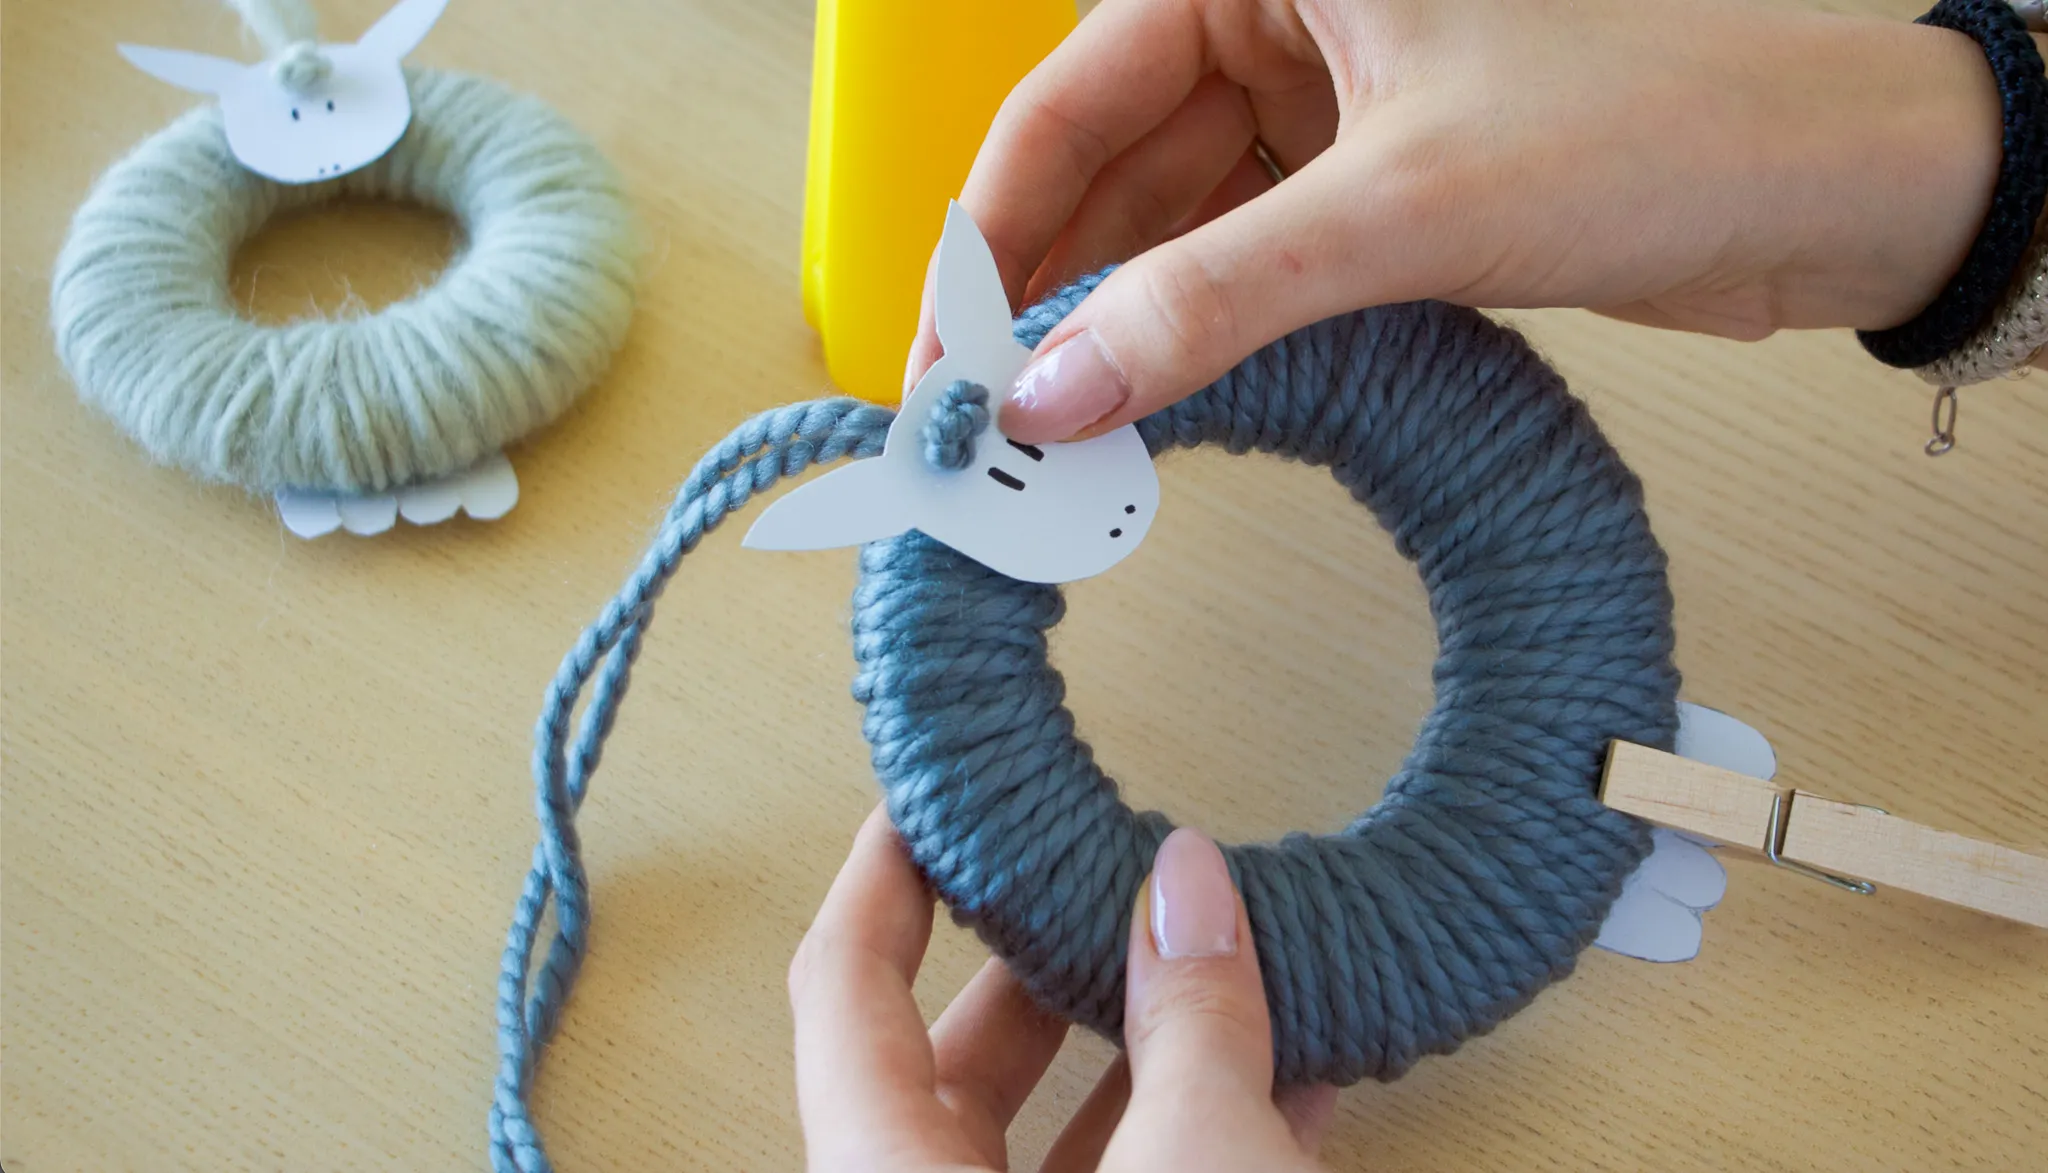
Step 5
Finishing touch:
Use craft glue to attach the head to the top of the wool ring and, if desired, attach a knot made from wool scraps to the forehead of the sheep. Glue the legs to the bottom. Leave to dry well.
Tip: A clothespin helps to hold the glue in place while it dries.
-
What age is the craft project suitable for?
This craft idea is suitable for children aged four and over. All materials can be found in the household. An adult can help with cutting out the cardboard ring. Children can wrap the wool scraps around the cardboard themselves. This makes the Easter DIY ideal for an afternoon of crafting at home.
You can do everything with it!
The finished wool sheep can be decorated in a variety of ways:
- As Easter tags for branches or windows
- Pasted on a card as homemade Easter post
- Pasted on a card as place cards for Easter brunch
- Several sheep in different sizes and colors attached to a branch as an Easter mobile
Have fun crafting and decorating!